/
Creating Offer Letters and Accessing the Fields
Creating Offer Letters and Accessing the Fields
- Former user (Deleted)
Owned by Former user (Deleted)
Last updated: May 03, 2018
Create Custom Fields
There are several steps to creating offer letters that are populated with data from within custom fields:
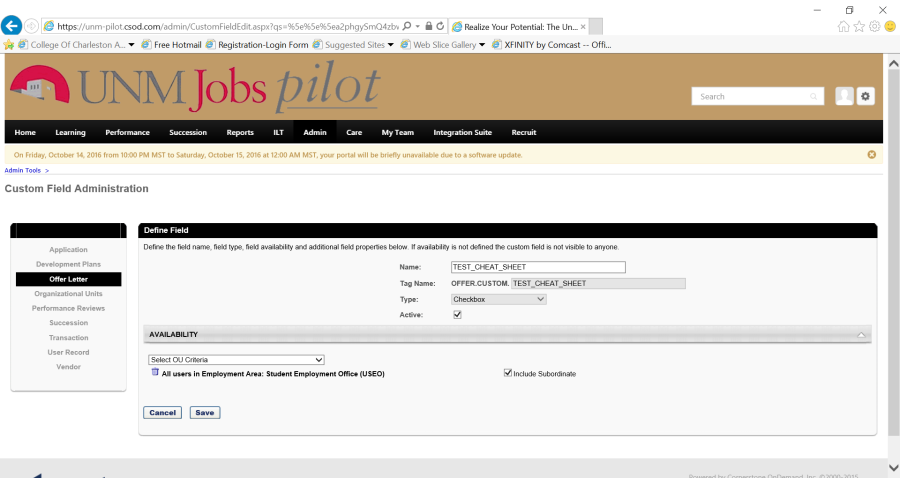
- Create the custom field in the offer letter section of the Custom Field Administration module. (Admin – Tools – Core Functions – Custom Field Administration).
- Add a tag so the field can be included in the offer letter.
- Add the employment area(s) the field will be available to.
Create the Offer Letter Template
- Click on Recruit – Offer Letter Preferences.
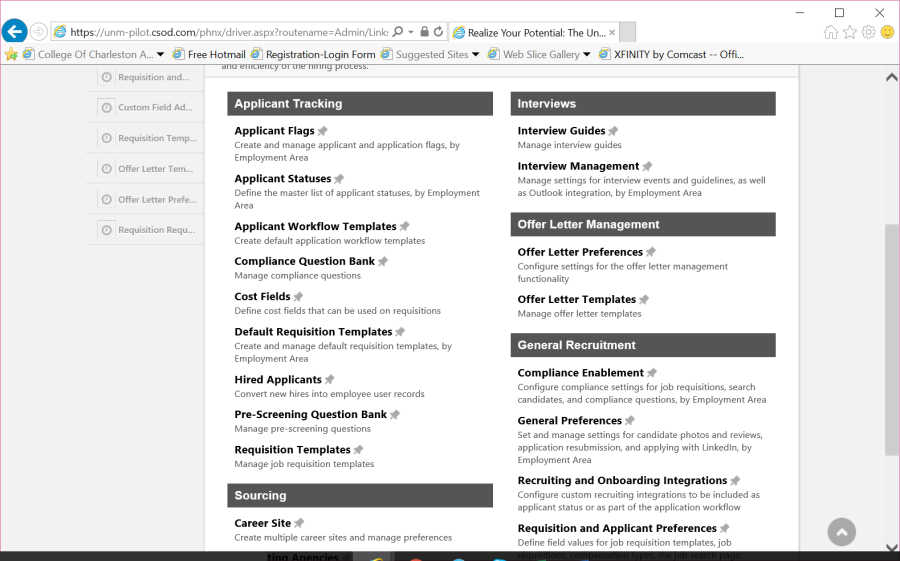
2. Add the field you created to Offer Letter Preferences. It will then be in the list of available fields that can be added to the offer letter.

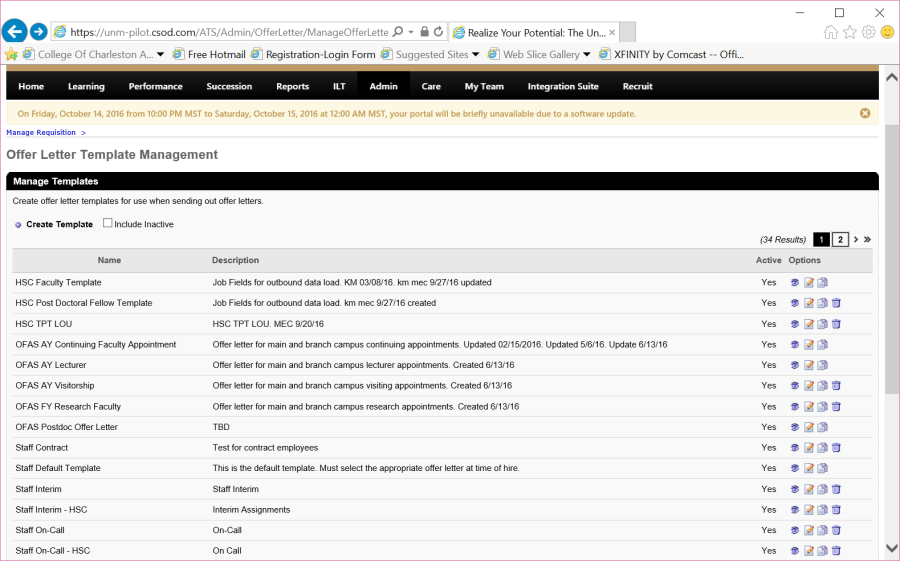
3. Click on Recruit – Offer Letter Template and create the template for the offer letter.
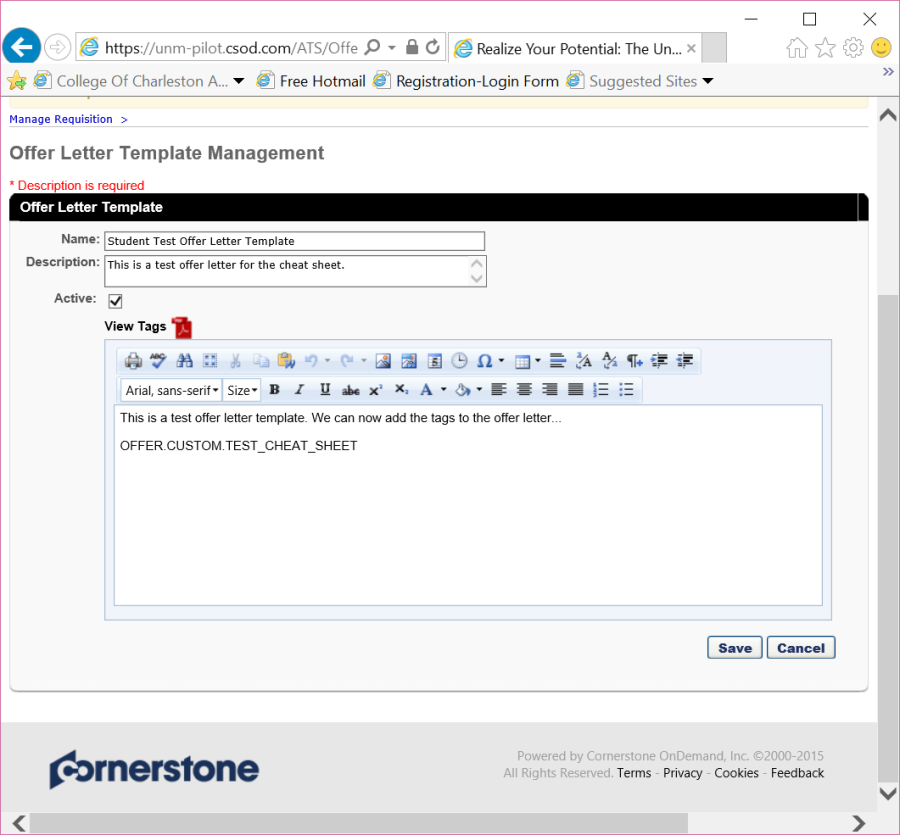
4. Create your offer letter and click View Tags to add your custom field to the offer letter. Click Save.
Select the Offer Letter Template from the Requisition
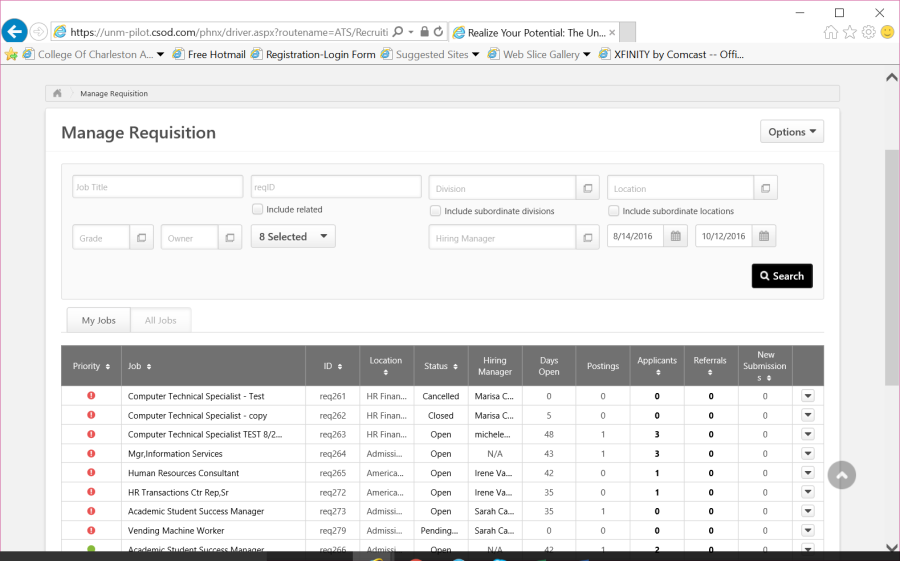
To enter data in the field that will populate in the offer letter click on Recruit – Manage Requisition. Click on the requisition and select Applicants.
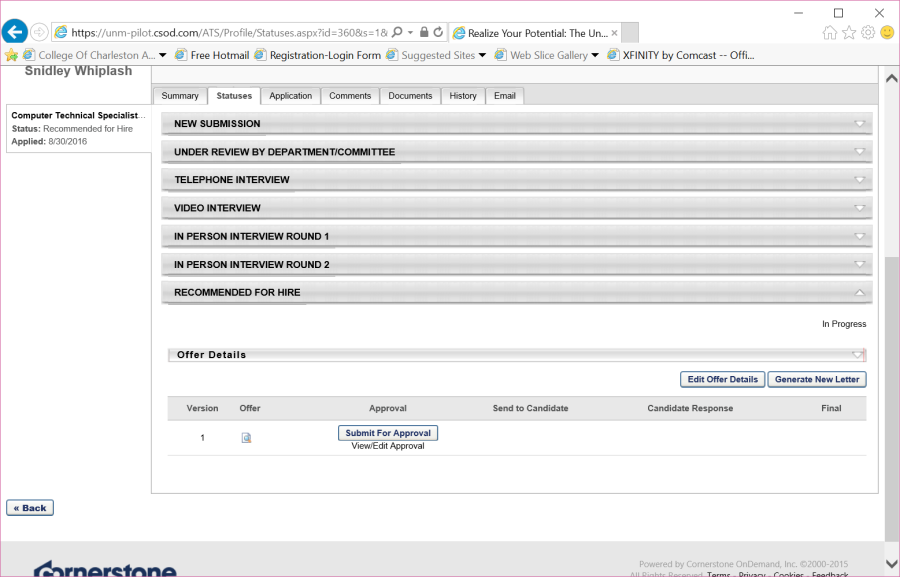
- Select the applicant you plan to hire by clicking on the applicant name. Under the Summary tab click on the Current Status and change the status to Recommended for Hire.

- Click on the Statuses tab of the Applicant Profile.
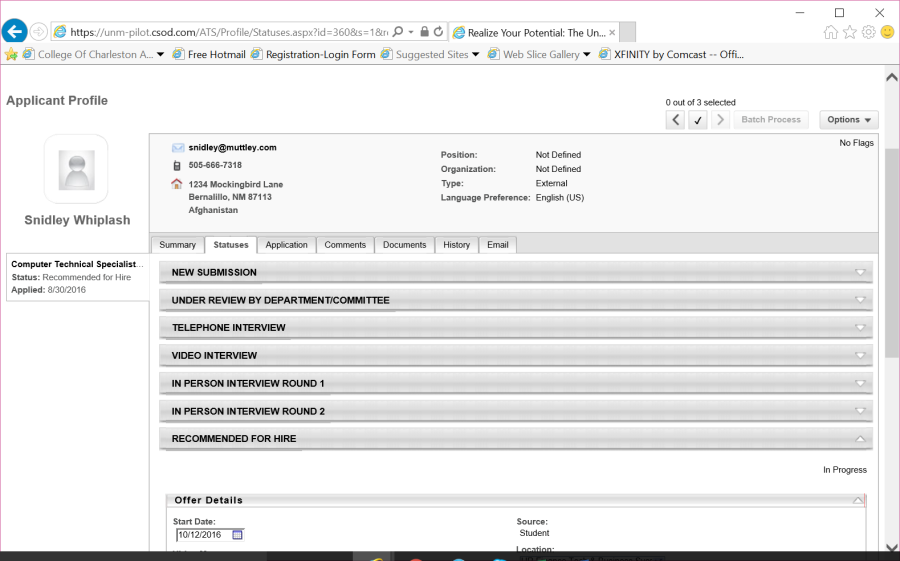
- Scroll down and you will see the field in the Offer Letter Details under the Recommended for Hire section. This section contains all of the possible fields for your employment area offer letters. Enter the appropriate information in the fields you need for your specific offer letter.
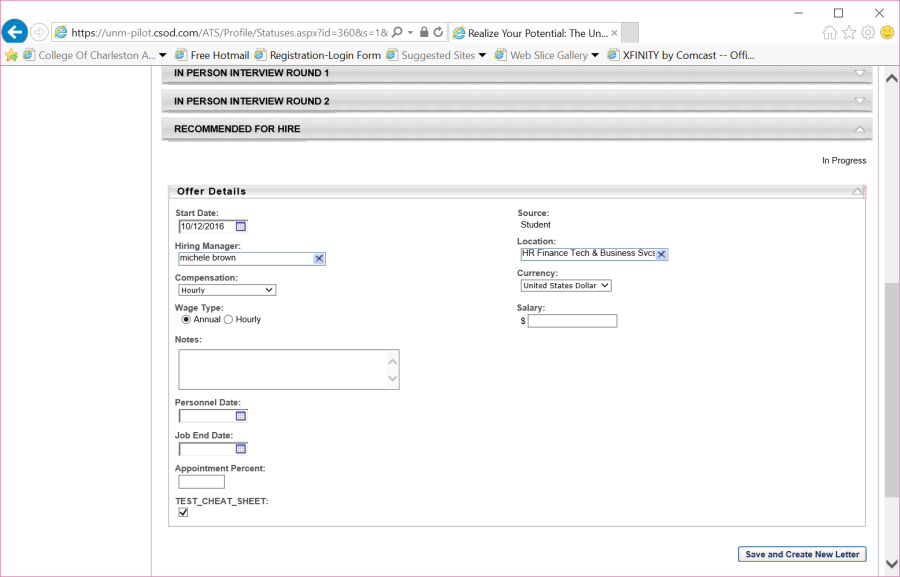
- Click Save and Create New Letter.
- Select the offer letter template you want to use for this hire.
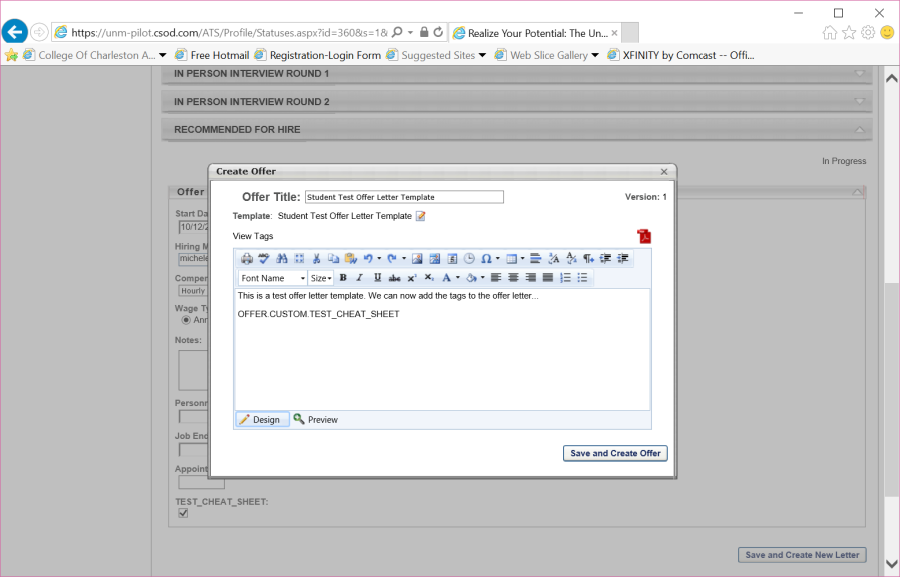
- You can now preview the offer letter.
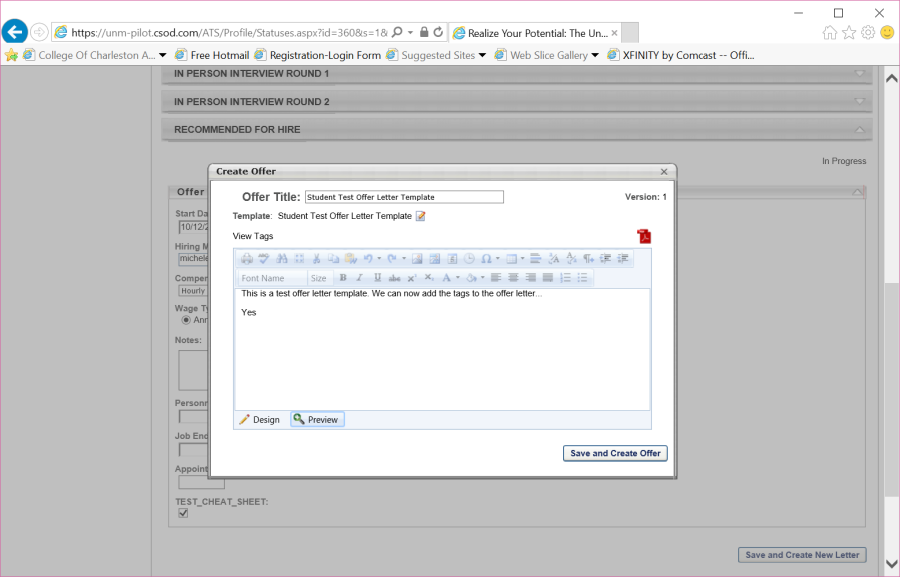
- Click Save and Create Offer.
- You can then define your approval queue here and submit the offer letter for Approval. Or you can edit your offer details and generate a new Offer Letter.
, multiple selections available,
Related content
4. Creating Hiring Request - Staff
4. Creating Hiring Request - Staff
More like this
3. Managing your Applicant Pool
3. Managing your Applicant Pool
More like this